Chances are, you've got a Facebook account - but do you know which parts of it are private and which parts are open for all to see? Understanding the various visibility rules for your posts can be confusing but we're here to explain everything in simple terms.
You can even cover your tracks retroactively, should you need to, so that video of you making a fool of yourself at the office Christmas party doesn't have to be viewable by everyone if you don't want it to. (You're not secretly proud of your antics, are you?)
Choose your audience
Whenever you post something to Facebook, whether through the website or through an app running on a mobile device, you'll see an audience selector drop-down list somewhere on the screen: this controls who can see your post when you put it on the social network.
The options range from everyone with a web browser ("Public") to no one but you ("Only Me"). Facebook lets you set up customised lists of contacts, so you could keep some posts specifically for your family, your work colleagues or your best friends, for example.
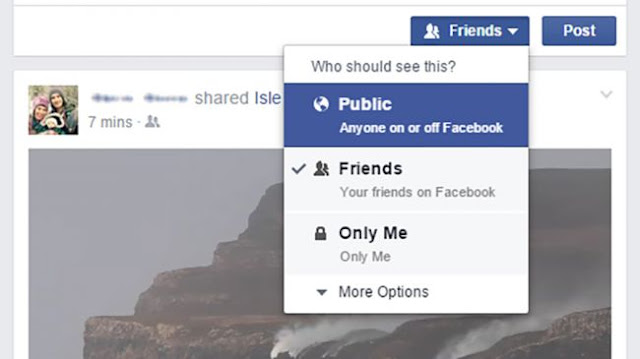
Choose Custom from the audience selector drop-down and you can even name specific people who can or can't see the post. If you've tagged someone else in it, then you can block his or her friends from seeing the update from the same dialogue box.
Most people just don't care enough to set different visibility levels for different posts, but it is actually a rather useful way of taking control over who can see what on your Facebook page - although there are some caveats, as we'll come to further down.
Limit other people's posts
If you don't want other people tagging you in posts, go to the Facebook settings page on the web, then choose Timeline and Tagging. There's an option to let you review and approve tags before they're applied to posts (though the post itself still goes up).
For those times when you really have a problem with what someone else is doing on Facebook, there are report and block options available, via the drop-down menus for individual posts and the Blocking section of the master Facebook Settings screen).
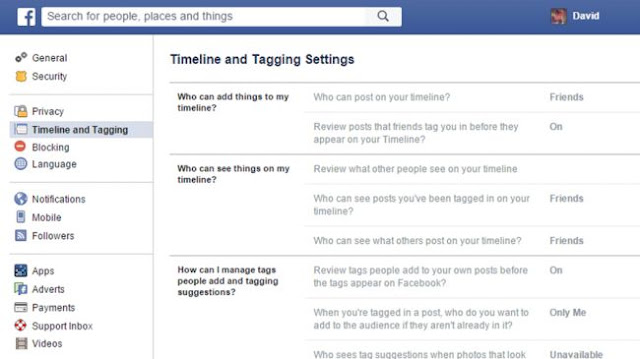
The Timeline and Tagging screen controls who can post on your timeline and gives you the option of reviewing these posts in advance too. If you then click on Privacy on the left it's possible to configure the options for who's able to contact you over Facebook.
You can limit people who can send you friend requests to friends of friends, for example, and stop people from adding you based on your email address and phone number. Note there's a master audience selector option located on this settings page too if you need it.
Remember it's not foolproof
There are ways around these settings: if you're in an embarrassing photo that someone else has uploaded, some of your mutual friends might recognise you even if you're not tagged. There's not much you can do except ask whoever uploaded it to take it down.
What's more, if you share a photo to just five people, there's nothing to stop one of those people copying and uploading it for the whole world to see, so if you've got a secret to keep then just don't put it anywhere near a social network in the first place.
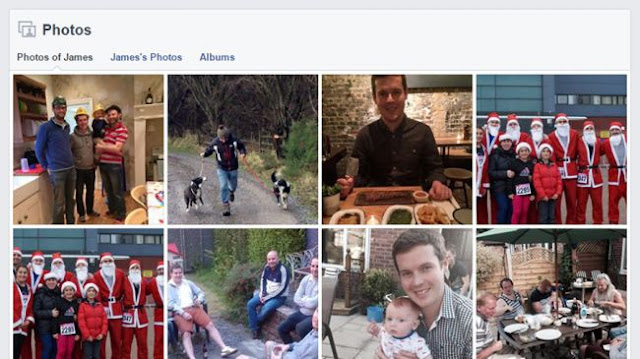
That said, it is worth reviewing the privacy and post visibility settings linked to your Facebook account, even if it's just to make sure you're not inadvertently putting any sensitive information out there on your profile for the wider world to see.
Ultimately it's just a question of thinking twice before you share anything (such as the location of a photo taken where you work or live) and making use of the plethora of options Facebook has available to tailor your social media privacy rules accordingly.
Check activity and post visibility
Open up your Facebook profile page and there are two useful features here. First, click on View Activity Log to see your recent activities on the social media site (from likes to status updates) and to deal with any posts from friends you might have been tagged in.
Here you can block or remove tags, undo pretty much everything you've ever done on Facebook, and remind yourself who can see particular bits of information that you post (via the audience visibility settings shown via icons down the right hand side).
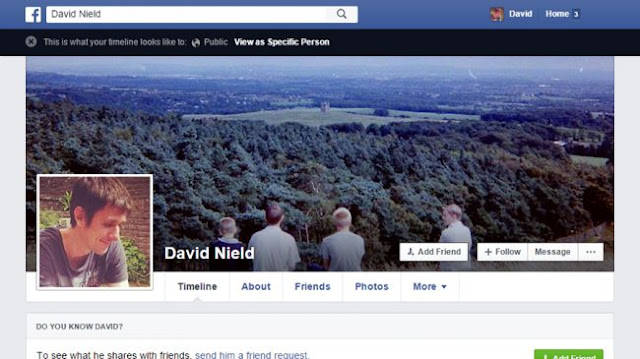
Head back to your profile page and click the menu button (three horizontal dots) then choose View As - you can see what a random passing member of the public is able to view on your timeline, or view your profile page as it appears to a specific contact.
The different parts of your profile have more or less the same audience selector options as your posts: choose About from your profile then follow any of the edit links to make changes (to hide your hometown from everyone except your family, for example).

No comments :
Post a Comment